USD/JPY Turns On Tokyo's Own Session Open And The Standing Threat Of A Yen Intervention, Not A Copy Of A Euro-Dollar Reversal Playbook
When you see the nine setups built around how USD/JPY actually turns on the 5-minute chart, you will stop reading it like a second Euro-Dollar and start reading the Tokyo session's own opening range and the standing threat of a yen intervention instead.
You will know how USD/JPY's own Tokyo opening range, its home session rather than an off-hours stretch the way the Asian session is for EUR/USD, tends to get tested and rejected, what a genuine round yen-figure level like 150.00 or 160.00 has actually meant for this pair given its own intervention history, and what an actual key reversal bar looks like on a pair that can move several yen in minutes on nothing more than a finance-ministry headline.
Most USD/JPY reversal losses on the 5-minute chart come from applying a Euro-Dollar playbook to a pair with its own home session and its own standing intervention risk that Euro-Dollar simply does not carry.
You will get a Tokyo opening-range failed breakout fade and a failed breakdown fade, a Ministry of Finance intervention-zone fade, a round yen-figure psychological-level reversal, key reversal bars at both edges, bullish and bearish RSI divergence, and a VWAP snap-back fade.
You will see all nine setups in full, entry to exit, before you pay for a single one of them, one dollar unlocked at a time.
A Tokyo-session open is not a Euro-Dollar London open with a different clock.
This pack shows you what an actual USD/JPY reversal looks like once that session's own opening push, or an intervention threat, actually fails.

“Most USD/JPY reversal losses on the 5-minute chart come from applying a Euro-Dollar playbook to a pair with its own home session and its own standing intervention risk that Euro-Dollar simply does not carry.”Jason Parker, founder, Reversals Trading
Introducing The USD/JPY Reversal Setups Pack (5-Minute)
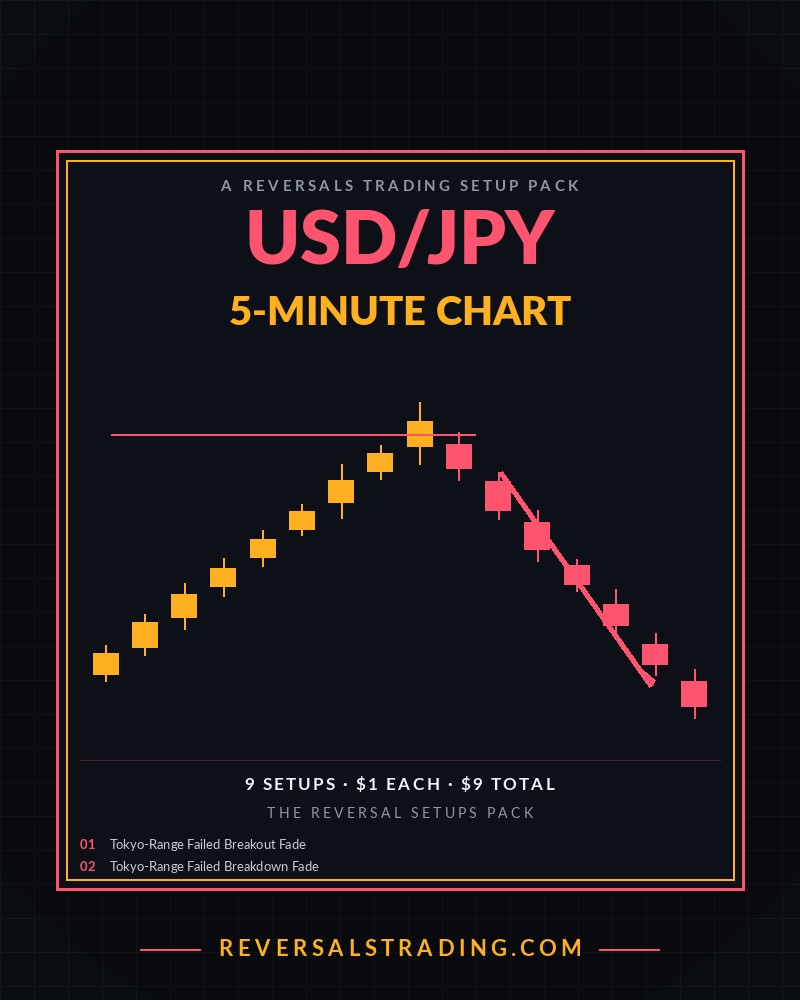
A Reversals Trading Setup Pack
The USD/JPY Reversal Setups Pack (5-Minute)
Nine ways to catch USD/JPY's reversals on the 5-minute chart, built around a Tokyo opening-range failed breakout pair, a Ministry of Finance intervention-zone fade, round yen-figure levels, key reversal bars, and RSI divergence.
- Setups9, each priced individually at $1
- FormatInteractive preview on this page, plus a printable PDF cheat sheet after checkout
- AccessInstant, right after checkout, yours to keep
- Built forUSD/JPY specifically, 5-minute chart, its own Tokyo-session and intervention-risk reversal mechanics
- AuthorReversalsTrading.com
$1 per setup, 9 setups, $9 total. Every setup is priced and shown to you before you pay for any of it.
Try It First
Preview Every Setup In This Pack
Click through all 9 setups below. Each card is the entry trigger, the confirmation, and the invalidation point, the same detail you get after checkout. The bar fills as you go, one dollar unlocked per setup.
What's Inside
All 9 Setups
- 01Tokyo Opening-Range Failed Breakout Fade. Fade a break above USD/JPY's own Tokyo opening-range high once the 5-minute bar closes back below it, a level built from this pair's own home-session order flow rather than an off-hours stretch.5-min chart, the first two hours of the Tokyo session
- 02Tokyo Opening-Range Failed Breakdown Fade. Fade a break below USD/JPY's own Tokyo opening-range low once the 5-minute bar closes back above it, the mirror of the opening-range failed breakout above the range high.5-min chart, the first two hours of the Tokyo session
- 03Ministry of Finance Intervention-Zone Fade. Fade a sharp, sudden USD/JPY move near a level Japan's government has previously defended once it stalls, a standing intervention-risk mechanic with no equivalent on a pair without a government actively willing to intervene.5-min chart, near a level Japan's Ministry of Finance has previously defended
- 04Round Yen-Figure Psychological-Level Reversal. Fade an approach into a round yen-figure level once it shows an actual rejection candle, since several of these exact levels have coincided with confirmed government intervention activity for this pair specifically.5-min chart, at a round yen level such as 150.00, 155.00, or 160.00
- 05Key Reversal Bar At The Range Top. Short once USD/JPY pushes to a fresh high beyond the range top and closes back inside it below the prior bar's own open, the clearest single-bar reversal tell this pack uses.5-min chart
- 06Key Reversal Bar At The Range Bottom. Buy once USD/JPY pushes to a fresh low beyond the range bottom and closes back inside it above the prior bar's own open, the mirror of the range-top reversal bar.5-min chart
- 07Bearish RSI Divergence At The Range Top. Short a fresh high at the range top when RSI fails to confirm it, an early tell worth pairing with the round-figure and intervention-zone reads above rather than trading on its own.5-min chart
- 08Bullish RSI Divergence At The Range Bottom. Buy a fresh low at the range bottom when RSI fails to confirm it, the mirror of the bearish divergence fade at the range top.5-min chart
- 09VWAP Snap-Back Fade. Once USD/JPY stretches unusually far from its own session VWAP with no fresh catalyst behind it, fade the stretch back toward VWAP, a mean-reversion mechanic that holds on this pair's own heavily traded Tokyo-session tape.5-min chart
TRADING
★
Certificate of Guarantee
60-Day, No-Questions-Asked
If The USD/JPY Reversal Setups Pack (5-Minute) doesn't earn its place in your process, email us any time within 60 days of purchase for a full refund. No form to fill out. No reason required.
Instant Access
$9One-time payment. No subscription.
9 setups × $1 each = $9
Get Instant Access9 SETUPS · INTERACTIVE PREVIEW + PDF CHEAT SHEET · DELIVERED IMMEDIATELY AFTER CHECKOUT · 60-DAY GUARANTEE
A Few Notes On Trading USD/JPY's Reversals At The 5-Minute Level
USD/JPY is quoted against the yen, not the dollar, which means Tokyo is this pair's own home session rather than a thin, off-hours stretch the way the overnight Asian session functions for EUR/USD. The opening range Tokyo prints in its first hour carries genuine weight because it reflects Japan's own heaviest corporate and institutional order flow, not the market's quietest liquidity window.
Japan's Ministry of Finance, acting through the Bank of Japan, has repeatedly intervened in the currency market to defend the yen at levels the government judged excessive, and that standing possibility has no equivalent on a pair like EUR/USD where no single government routinely acts to move the exchange rate directly. A sharp, sudden reversal with none of the usual technical or macro buildup, especially near a level the government has previously defended, carries a distinct intervention-risk read this pack treats as its own setup.
Round yen-figure levels, 150.00, 155.00, 160.00, have carried outsized significance for USD/JPY specifically because several of them have coincided with actual, confirmed intervention activity in recent years, giving them a weight beyond the ordinary psychological-level effect seen on other major pairs.
Common Questions
Why is this priced at $1 per setup?
Every setup in The USD/JPY Reversal Setups Pack (5-Minute) is priced individually and added up. This pack has 9 setups, so it is $9 total, no more and no less. The interactive preview above shows every setup before you pay, so nothing is padded in to round out a bundle.
How is this different from the EUR/USD Reversal Setups Pack in this shop?
The EUR/USD pack treats the Asian session as the day's thinnest, off-hours stretch and builds its own setups around the London open and the London 4pm fix. This pack treats Tokyo as USD/JPY's own home session and builds around its own opening range, plus a standing intervention-risk mechanic tied to Japan's Ministry of Finance that has no equivalent on EUR/USD.
What timeframe is this pack for?
Every setup in this pack is built for the 5-minute chart, the timeframe most active day traders use to plan and enter USD/JPY intraday trades.
What do I actually get after I pay?
Instant access to a printable PDF cheat sheet with the entry trigger, confirmation, and invalidation point for all 9 setups in this pack, the same detail shown in the preview deck above, formatted for a second screen or the desk next to your monitor.
Is there a guarantee?
Yes. The same 60-day, no-questions-asked guarantee as everything else in the shop. Email any time within 60 days of purchase for a full refund.